Feedback widget
The feedback widget collects grades and comments directly on your website. Visitors grade a page, a product, or a service without leaving it, and every answer arrives in InstantFeedback as a feedback request of the campaign the widget belongs to. The widget is rendered by the InstantFeedback JavaScript API, so your site needs no server-side code.
- Belongs to a Web campaign and uses that campaign's grading scale, texts, and custom fields.
- Two ways to embed: a script snippet that renders the widget into an element of your page, or a plain iframe.
- Options for a page identifier, custom field values, the interface language, and a read-only preview mode.
Before you start
- You need a campaign of type Web in InstantFeedback. Other campaign types do not have a feedback widget.
- You need access to that campaign in the web app to copy its embed code. The code contains the campaign's token.
- Your website must let you add a
<script>tag or an<iframe>to the page.
Get the embed code
- Open Campaigns and click the campaign.
- Open the menu in the top-right corner of the campaign page and choose Widgets.
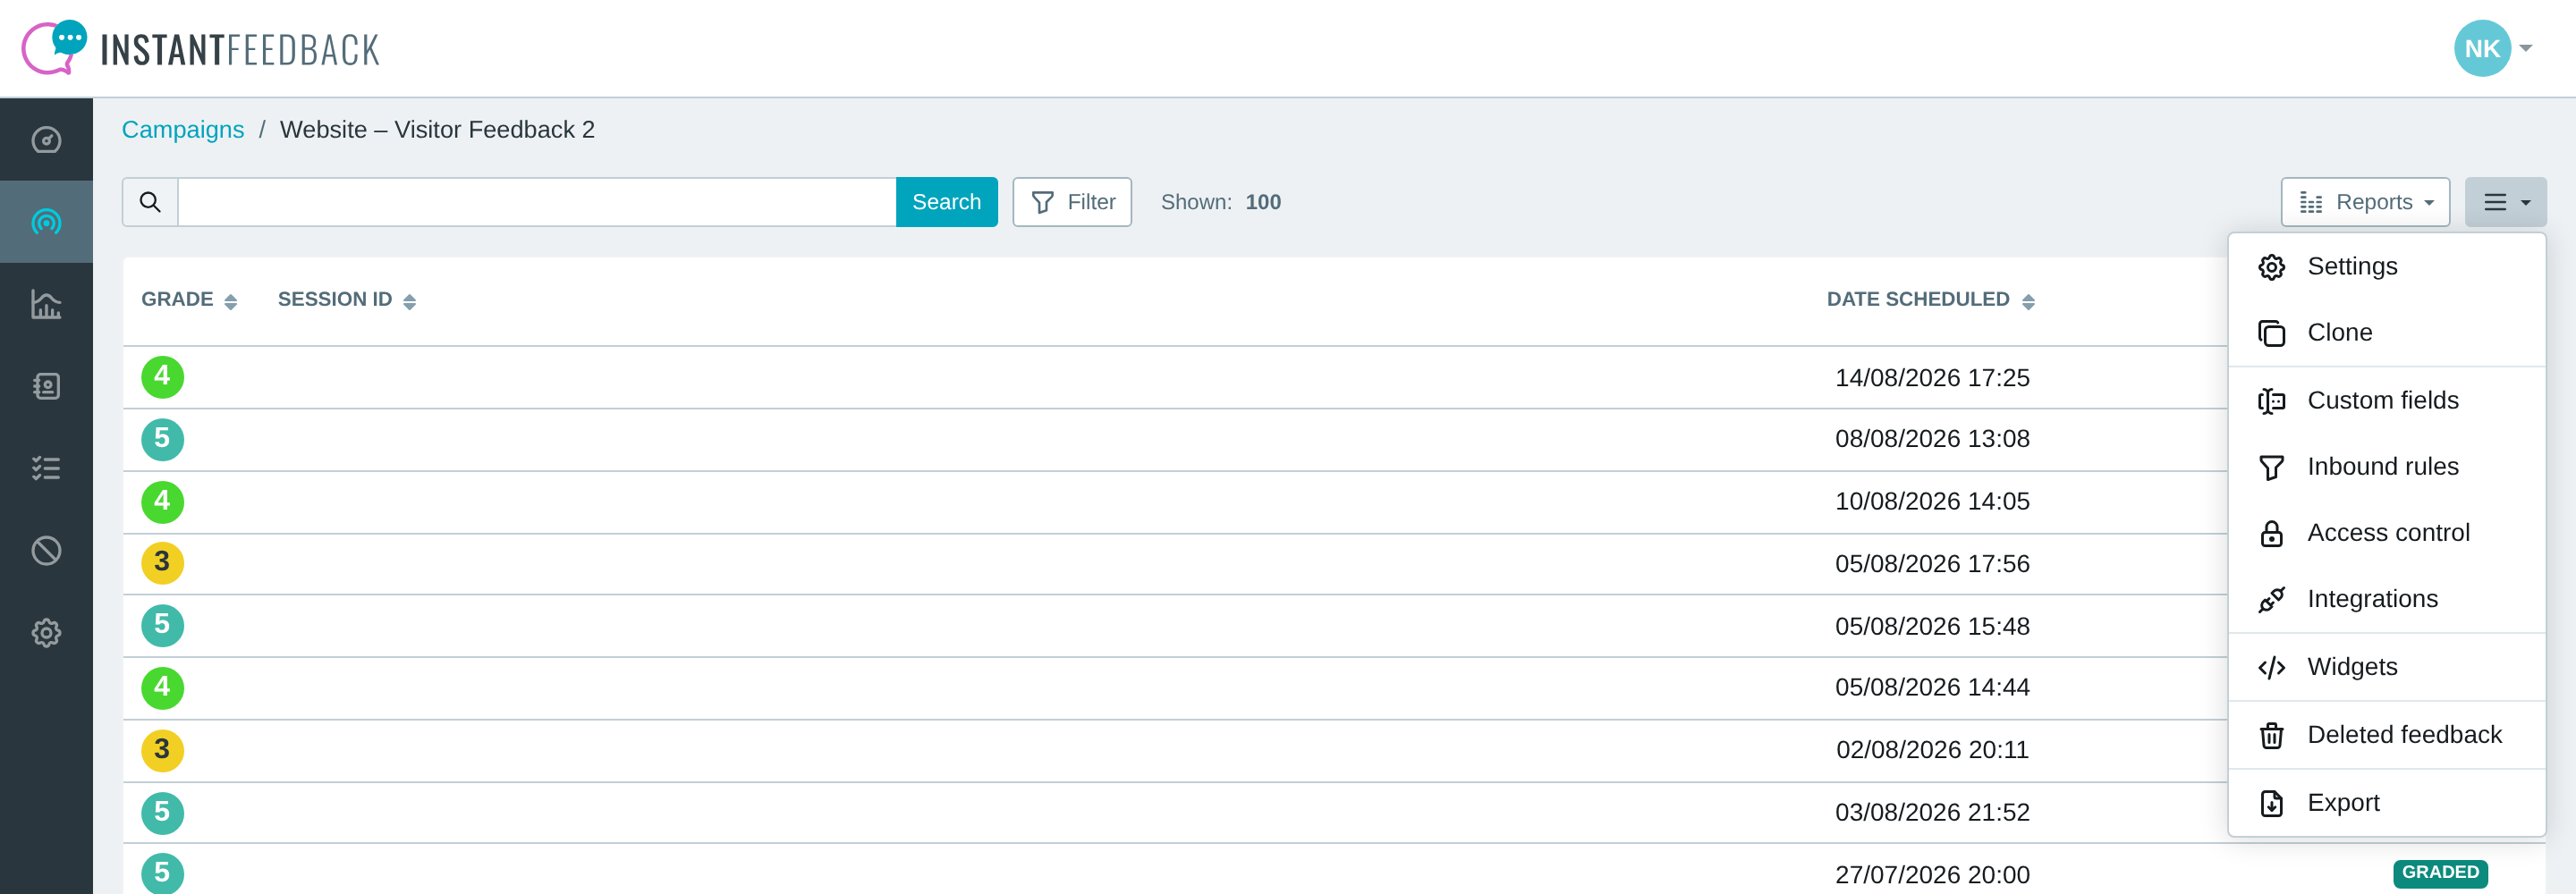
The campaign menu. Widgets is not offered for survey-only campaigns.
- On the Feedback widget tab, the Preview card shows the live widget in preview mode. Grades and comments entered here are not saved.
- Copy the Script embed code or the iframe embed code with Copy to clipboard and paste it into your page.
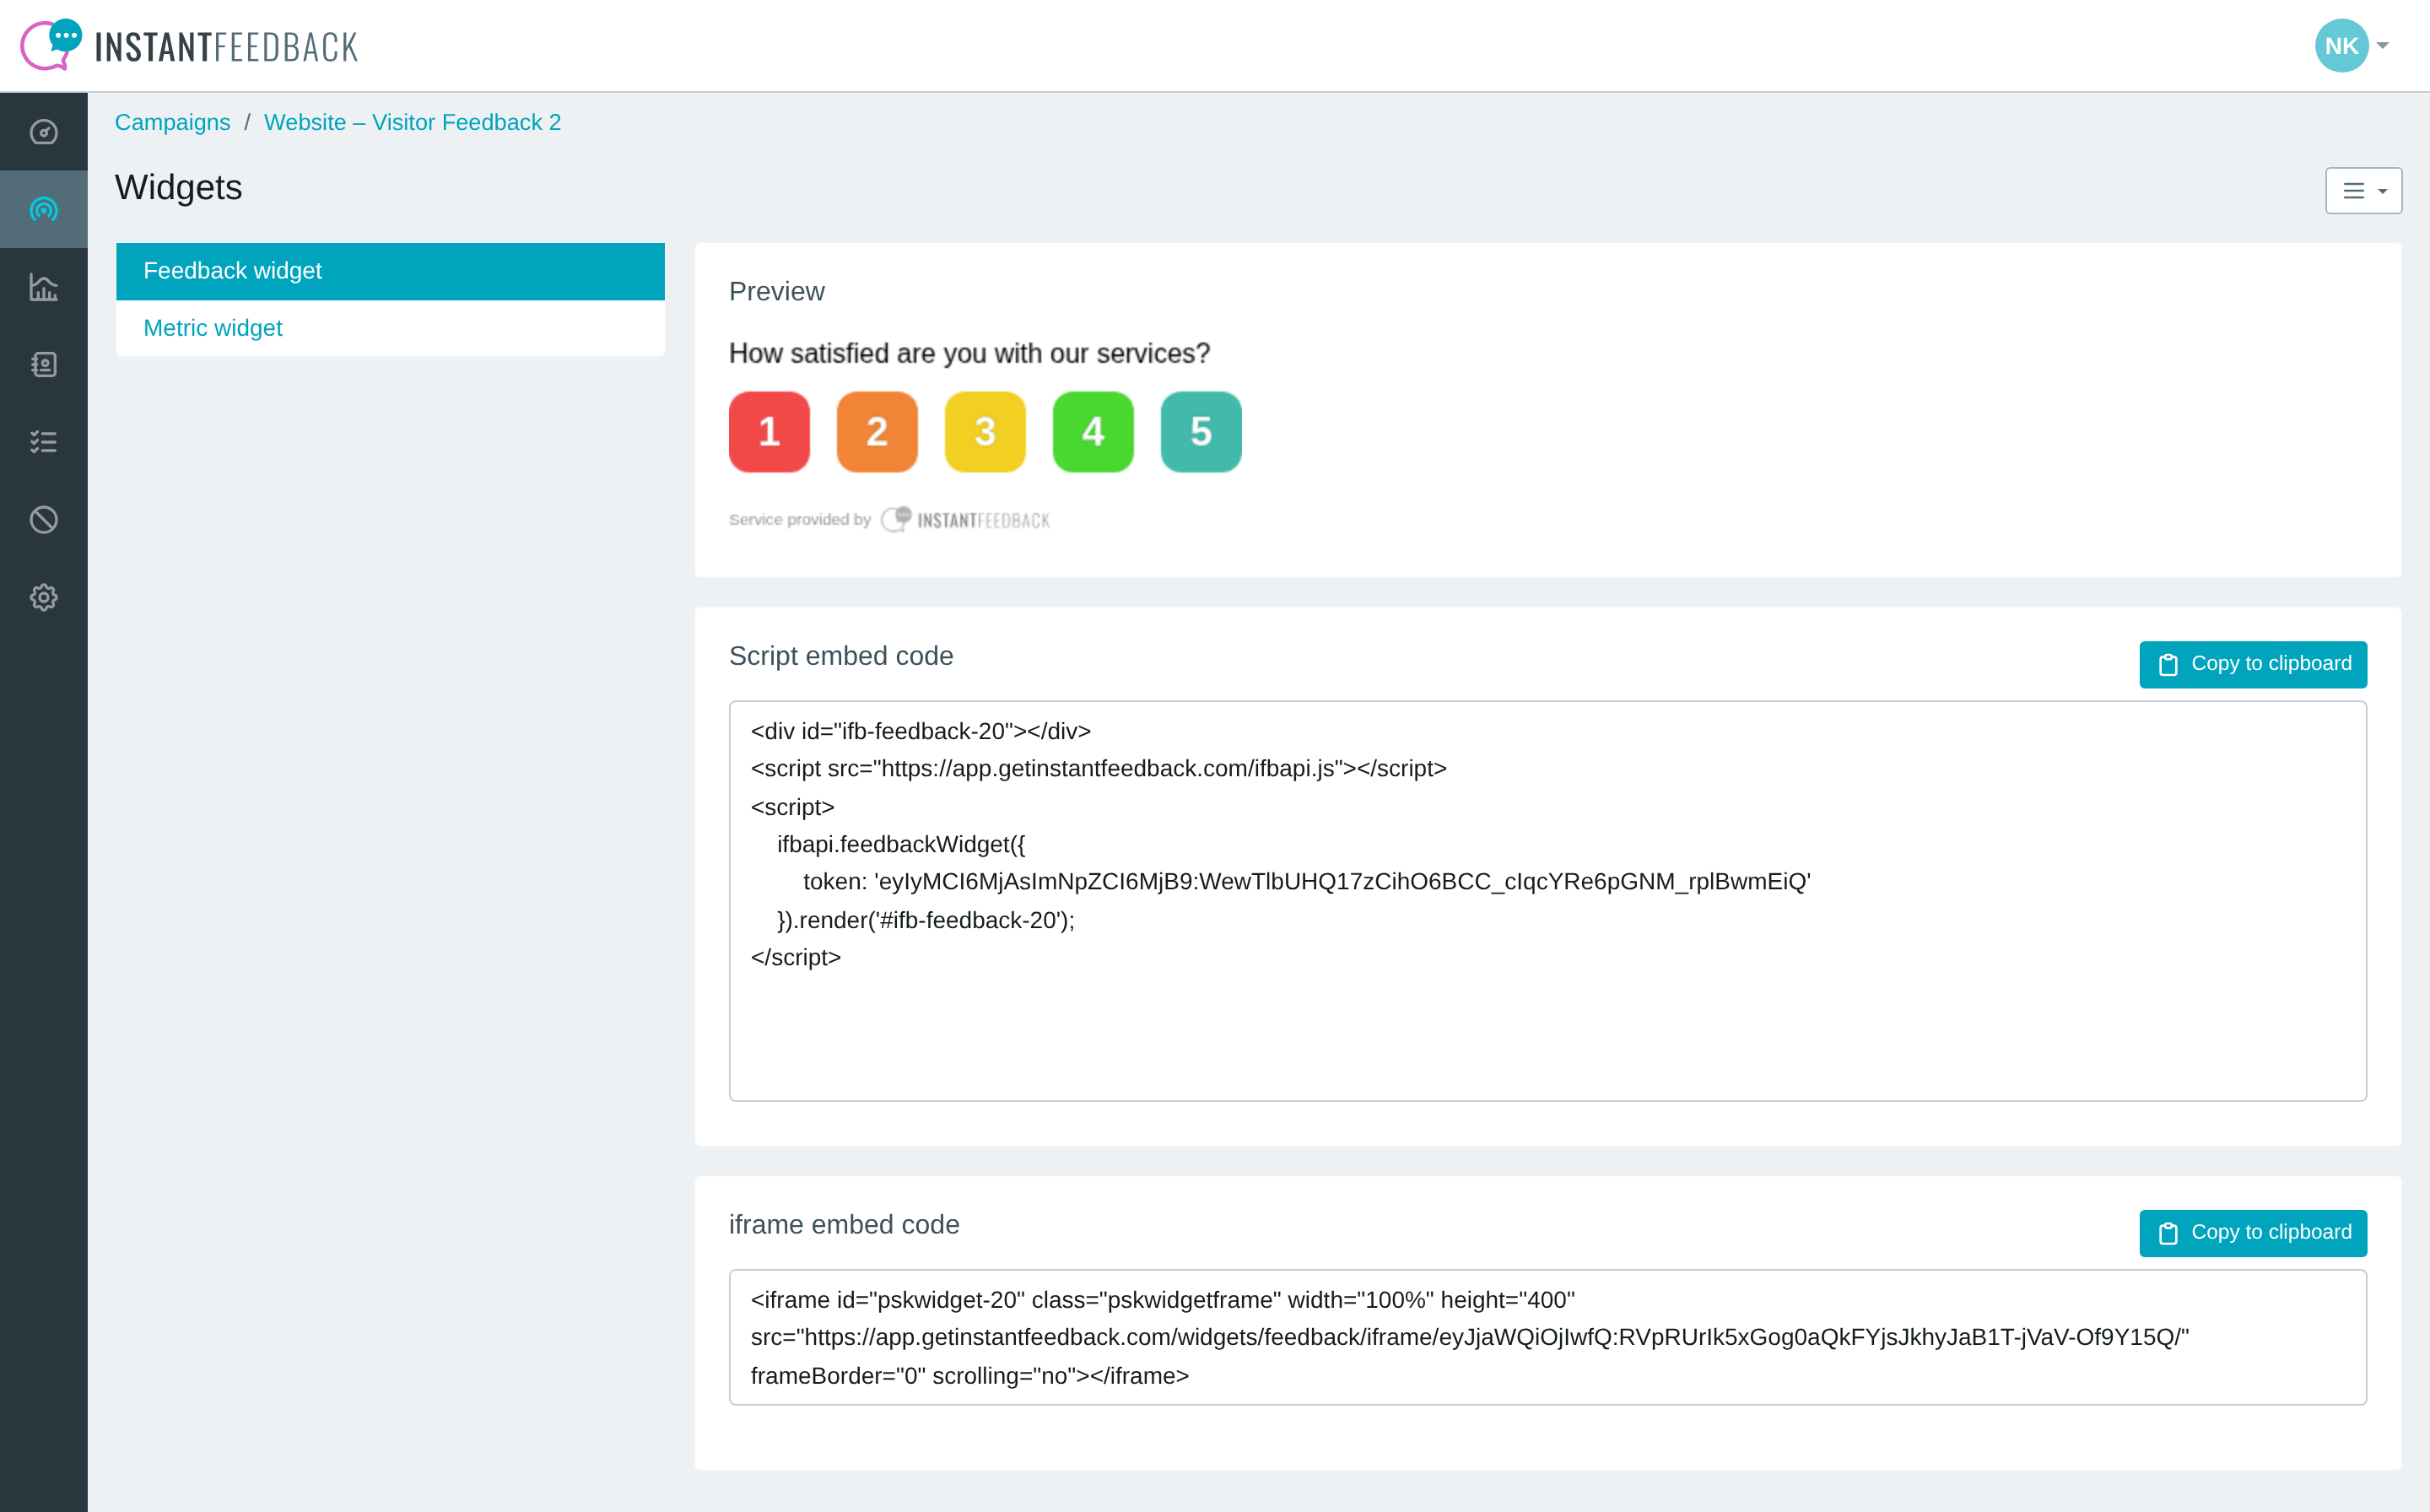
The Feedback widget tab. Nothing is edited here; the widget's look is part of the campaign settings.
The script snippet renders the widget into a <div> and gives you access to the options
described below. The iframe snippet needs no JavaScript on your page; its height comes from
the campaign's widget settings.
Add the widget with the script
This is the minimal code needed to show the widget on a page:
<!DOCTYPE html>

<html>

<body>
    <!-- 1. Element to render widget into -->
    <div id="container"></div>

    <!-- 2. InstantFeedback JavaScript API -->
    <script src="https://app.instantfeedback.si/ifbapi.js"></script>

    <!-- 3. Initialize widget and render into specified container -->
    <script>
        ifbapi.feedbackWidget({
            token: "eyJjaWQiOjF9:gW1ZO9dMcohTWwUJQcDtL_dyiBY"
        }).render('#container');
    </script>
</body>

</html>
The three steps the integration needs:
- Define the element to render the widget into.
- Include the InstantFeedback JavaScript API script.
- Initialise the widget with the campaign's token and render it into the element.

The result with the default theme and configuration, because no options were passed.
Embed as an iframe
The iframe snippet from the Widgets page has this shape:
<iframe id="pskwidget-<campaign id>" class="pskwidgetframe" width="100%" height="400"
        src="https://app.instantfeedback.si/widgets/feedback/iframe/<token>/"
        frameBorder="0" scrolling="no"></iframe>
Use it when you cannot run scripts on the page. The options below are not available in the iframe; the widget uses the campaign settings only.
Options
The widget is configured with the options passed to ifbapi.feedbackWidget(). An example
with all available options:
ifbapi.feedbackWidget({
    token: "eyJjaWQiOjF9:gW1ZO9dMcohTWwUJQcDtL_dyiBY",
    tag: "uniqueValue",
    customFields: [{
        name: "Field 1",
        value: "some value"
    }],
    lang: 'en',
    preview: false
})
| Option | Type | Required | Default | Meaning |
|---|---|---|---|---|
token |
string |
Yes | – | Campaign or feedback request identifier, provided by InstantFeedback. Take it from the embed code. |
tag |
string |
No | sha1 hash generated from the page title |
Unique identifier of the page within your website. |
customFields |
array<object> |
If any of the campaign's custom fields is required | – | Name and value pairs for the campaign's custom fields; see below. |
lang |
string |
No | Language defined in the campaign settings | Language of the widget's user interface. |
preview |
boolean |
No | false |
Read-only preview mode. |
Choosing a tag
The tag identifies a page within your website. By default it is a hash generated from the page title, but it can be any value that is guaranteed to be unique, such as a blog post ID or a product ID.
Each entry of customFields is an object with these properties:
| Property | Meaning |
|---|---|
name |
Name of the field as defined in the campaign settings. |
value |
Value for the field. The type of the value depends on the type of the field. |
[{
    name: "Field 1",
    value: "some value",
}]
Preview mode
With preview: true the widget is fully operational, but no data is saved. Use it on
staging pages or while styling the widget.